
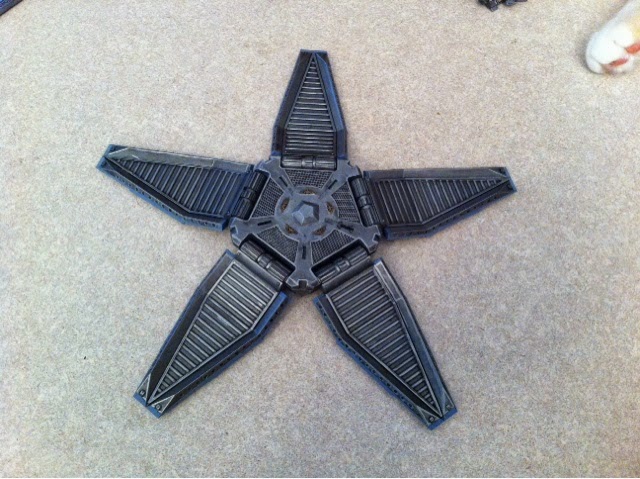
First I have my assistant helping me here arrange all of the pieces of a drop pod for you to see laid out. The doors, upper engine, and harness have been glued together, the rest are free floating for painting.

My assistant is not of the greatest help.
Now skipping that whole painting process, here are the mostly finished pieces. Weathering and chipping will come later.

Now the model was dry fitted for this process as more painting was required before final assemblage, and to show how well the model goes together with though and preparation.
Here is the bottom of the model with the doors put in place. Now you would glue the pod floor to the entry thrusters. Mind blowing I know.
Next you can assemble the control core, and harness. Don't worry about glueing these to one another. They will fit well together, and you will want the harness to be able to be tweeked alittle coming up. You can glue the core in place though. I have just one in the picture for example of the models, I guess size, dimensions, roominess, doesn't matter put them in all at once its easy.

Now you can do this step at any point once painted. The upper engine, and gun mount go together with the insertion of the nose for the turbine blades. Put some glue just on the end of the turbines bit and join the pieces together. This way you can properly sweval the gun at the enemy when it fires. So you can still make some sound effects after it deploys.

Here we are now beginning to finish the assembly. Fit the engine unto one of the fins. Once dry fit another into the engine and put in place on the rest of the model. Here you will be able to fiddle with the unglued harness to fit the fins bottom, middle which a connects with a hose from the harness, and it's top at once. Helping to lock it in place.

Now since this is an imperial design you. Must have rubber bands on hand otherwise you've just made it harder for yourself. Wrap a couple around at key places of joining, while pressing in pieces at proper places to get them uniformly joined. I also recommend to help keep the doors from being to loose or off kilter, make sure during this step to get the locks at the top of the door to fit in to the squares on the engine. You'll hear the click when they fit together.

Perhaps I've bee instructional to some extent and will help others in the future if you ever build one of these kits.
+1 for skipping that painting part - blech, no one likes that stuff :P
ReplyDeleteNate, that radar is top notch. How did you do it?
ReplyDeleteYour top-notch assistant has already doubled my interest in the blog. ;)
ReplyDelete~Mikki
Hmm...this is a great example of painting then assembling...pretty much your whole blog is :).
ReplyDeleteI usually end up assembling in sub assemblies, then magnetizing things so I don't have to glue them later. (I hate scraping paint off to make nice glue joints for some reason.
Have you thought about magnetizing the doors so they stay shut? I've never found a really good guide on that.